hey heyyy here goes.
I totes made a tote.

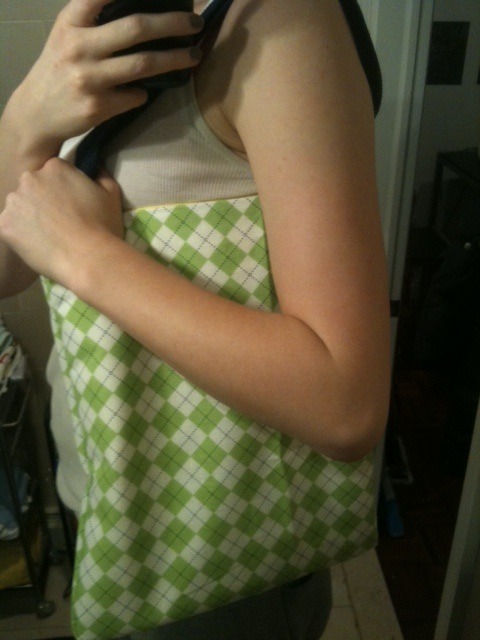
Looks good, yeah? (this was before I ironed it, don't tell my mom)
To begin, I drew on my (only) sewing experience of making a tote bag with lining.
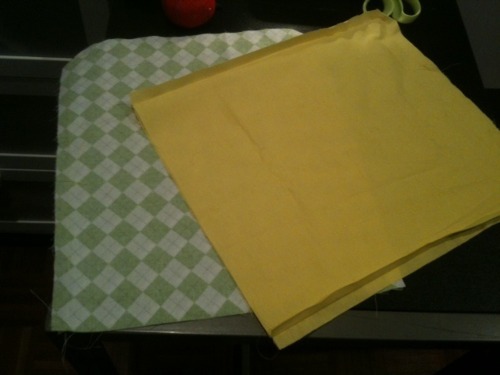
So, to begin. I had all my fabric lined up on top of each other so I could cut out the pieces at the same time. Then I used my cool marker that disappears on fabric with water and marked out a 16 by 14 inch rectangle. I was mostly following these instructions from the Purl Bee for a tote bag, but adding some things of my own.
Once the pieces were cut out, I placed wrong side of fabric to wrong side of fabric and pinned the pieces together. And then I sewed them together.
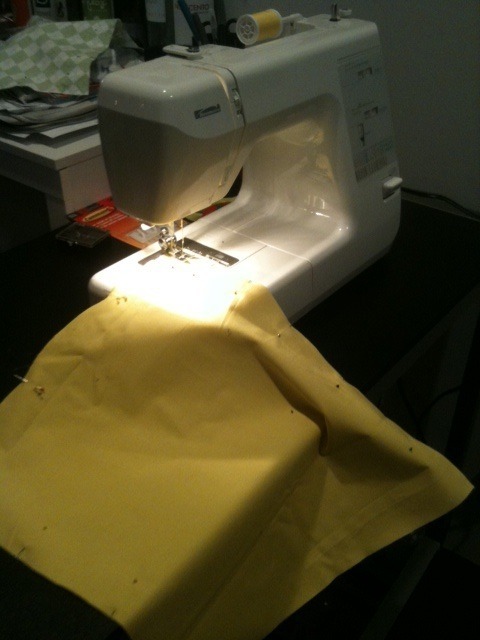
Until I got TWO pieces of sewed together fabric. (Don't forget, you are not sewing all four sides. Also, in the lining, leave a hole in the bottom. Trust me. Also, I forgot to take a picture of this hole, ugh.)
I ironed the seams flat as I went because that is what the nice sewing teacher told me to do. Once two pieces are ready, turn the lining right side out. This is when I sewed the straps to the bag, but I forgot to take a picture of it. Basically, I measured two-and-a-half inches in from each side and pinned the straps there. Then I sewed the straps to the lining. They will get sewed more securely into the bag in a few moments.
When the lining is right side out and straps are attached, you want to place the lining inside the outside fabric--right side to right side and both facing up, so that the openings and all the seams line up. It will look like an inside-out pocket. You want the straps to be in between the lining and the outside fabric so that you can't see them and they aren't poking out. Next time I make a bag, I will not forget pictures of this crucial step. Once it is all lined up, pin and sew the lining and the fabric together following the top edge of your bag. Am I making sense? Maybe I should make a video.
Once it is sewed together, pull the lining out and reach your hand through the hole and turn everything inside out. Pull and squish and pull all the fabric through the hole. It will be attached at the top and look something like this:
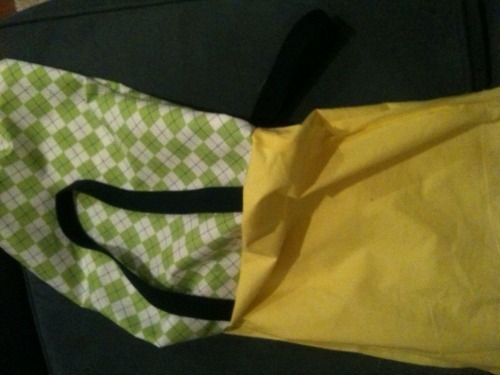
See how the straps come out! Now you can push the lining back in the bag and iron everything flat.
Then you can wear it.
Now, I made two mistakes and would like to make one improvement.
- Mistake 1: Remember how I was worried a messy bobbin would mess me up? Well, it did. DO NOT USE MESSY BOBBINS. Things got caught, string got snipped, and I ended up using an already-made, nice, neat bobbin that mismatched my thread. In this project, you can't see the thread so it didn't matter so much. But still.
- Mistake 2: I may or may not have sewed the lining in the bag wrong side out. OK, I definitely did. Again, not something you can see (from the outside anyway) but the inside of the bag shows the seams because the lining is wrong side out. HA turns out you can see the thread.
- Improvement: I would have liked to line up the pattern on both sides of the bag. Its misaligned on the edges, which isn't really a mistake but would have been baller skillz if I did it.
So, now that I've done this post, I'm thinking maybe about making a new tab on here for project instructions. That way, I can spell them out step by step and you can check it out and come back to it if you are interested, and skip it if you aren't.
And I promise to take better pictures of each step next time.
No comments:
Post a Comment